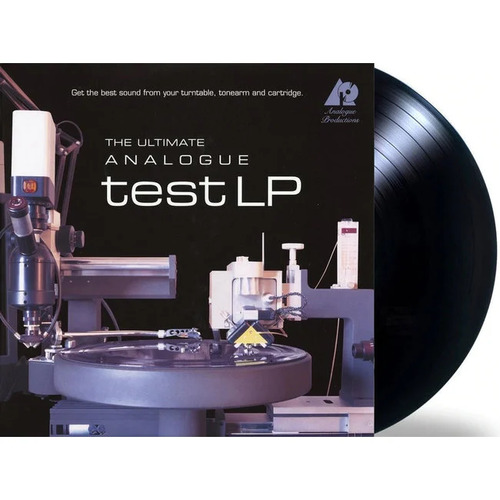
Analogue Productions The Ultimate Analogue Test LP
- Бренд
- ANALOGUE PRODUCTIONS
- Артикул
- AAPT 1
The Ultimate Analog test LP - диск для настройки винилового проигрывателя. Этот тестовый диск содержит основные сигналы, которые понадобятся вам для настройки и проверки проигрывателя и картриджа.
Это диск для настройки винилового проигрывателя. Диск будет полезен тем, кто хочет добиться филигранной настройки своего проигрывателя LP и, таким образом, получить лучший звук.
О создании диска The Ultimate Analog test LP от компании Analogue Productions:
Чтобы создать тестовую запись, подобной которой, никто и никогда не делал раньше, мы консультировались со многими специалистами в области аудио, в том числе: мастеринг-инженерами, аудио экспертами, экспертами по виниловым проигрывателям и слушателями аудиофилами. Когда Барри Волифсон (Barry Wolifson) из Sterling Sound New York пришел к нам той же идеей, которую мы в тот момент обдумывали - создание совершенной тестовой записи - он и наш аудио эксперт Кларк Уильямс (Clark Williams) начали мозговой штурм и разработку идей, до тех пор пока они оба не были полностью удовлетворены тем материалом, который должен был пойти на запись.
Большинство тестовых записей выпущенных в прошлом были сделаны для проверки различного оборудования. Эти тестовые записи содержат пушечные выстрелы, звук пишущих машинок, голоса в одном из каналов и другую бесполезную чепуху. Наш диск специально предназначен для вашего винилового проигрывателя и головки звукоснимателя. Он создан, чтобы обеспечить вас основными тестовыми сигналами, которые необходимы для калибровки проигрывателя или чтобы эта настройка проходила как можно проще. Большинство сигналов имеют конкретные применения, но их, конечно, можно использовать для ваших собственных методик настройки.
Эта запись была тиражирована с использованием Quality Record Pressings на 180 граммовом виниле.
Features:
- 200g Virgin Vinyl
- Pressed at Quality Record Pressings
Selections:
Side A
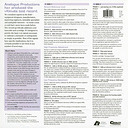
General Reference Level. This 1 kHz reference tone will allow you to establish a "base level" for all measurements
1. 1 kHz Reference Tone (Mono)
Basic reference for all measurements, adjust meter for maximum convenience (in the studio 0VU). Adjust preamp channel balance for equal output. Also used to check the offset angle of the photo cartridge; L&R signals should be exactly in phase as displayed on an oscilloscope. Azimuth Adjustment
2. 1 kHz Reference Level (Left Only)
Measure Right channel output.
3. 1 kHz Reference Level (Right Only)
Measure Left channel output. The object is to sit the stylus exactly perpendicular in the groove. Twist cartridge about its radial axis until the measurements from Track 2 and Track 3 are equal or very close to equal for both channels.
High Frequency Adjustment.
Tracks 4-6 are used to calibrate the RIAA high frequency equalizer of a phono preamp. This will be used to calibrate a mastering lathes phono preamplifier or any phono preamplifier that has these adjustments.
4. 1kHz Reference Tone (- 20dB)
Reference for High Frequency test.
5. 10 kHz Reference Tone (- 20dB)
Adjust the high frequency until the output level equals that of Track 4.
6. 1 kHz - 20 kHz Sweep (- 20dB)
The AC millivolt meter reading should stay constant across all frequencies. There are a number of factors which can affect frequency response, including cable capacitance, cartridge loading, tracking force and worn parts. Because of this, it can be difficult to achieve perfectly flat frequency response. Sometimes by making small compromises in the 10 kHz adjustment, a better overall frequency response can be achieved. Low Frequency Adjustment.
Tracks 7 & 8 are used to calibrate the RIAA low frequency equalizer of a phono preamp.
7. 1 kHz - 20 kHz Sweep (0VU)
Play Track 7 and measure the output with your AC millivolt meter. Ideally, the output will be flat across all frequencies. When viewed on an oscilloscope, the amplitude would remain constant during the frequency downsweep.
8. 100Hz Reference Tone (0VU)
Adjust LF Eq to reference (which is your reading from Track 1).
9. VTA Adjust
This is an IEC intermodulation distortion (IMD) test signal; 60Hz & 4kHz 4:1 ratio. Using an IMD tester, adjust VTA by raising or lowering the tonearm for minimum distortion.
10. Standard Wow & Flutter Test (3150 Hz)
The Wow & Flutter meter will give dynamic speed variations as a percentage deviation from nominal. Also, the frequency counter should read exactly 3150 Hz for nominal speed. You can use the Hz function on your multi-meter (if so equipped) to verify speed here as well. You can also use to find the measurements at 45RPM. The correct reading at 45RPM would be 4253 Hz (45/33.33) x 3150.
Side B
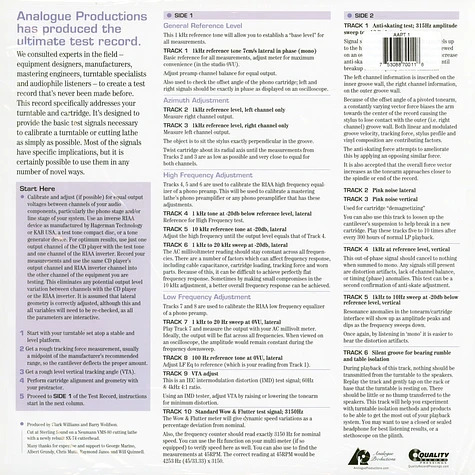
1. Anti-Skate Test (315 Hz, Sweep 0 dB - +12 dB)
Signal should remain clean in both channels up to the highest level, both audibly and as viewed on an oscilloscope. In case of distortion, increase anti-skating force or decrease anti-skate until breakup occurs equally in both channels. The left channel information is inscribed on the inner groove wall, the right channel information, on the outer groove wall. Because of the offset angle of a pivoted tonearm, a constantly varying vector force biases the arm towards the center of the record causing the stylus to lose contact with the outer (i.e. right channel) groove wall. Both linear and modulated groove velocity, tracking force, stylus profile, and vinyl composition are contributing factors. The anti skating force attempts to ameliorate this by applying an opposing similar force. It is also accepted that the overall force vector increases as the tonearm approaches closer to the spindle or end of the record.
2. Pink Noise (Lateral)
3. Pink Noise (Vertical)
Used for cartridge "demagnetizing" You can also use this track to loosen up the cantilevers suspension to help break in a new cartridge. Play these tracks five to ten times after every 300 hours of normal LP playback.
4. 1 kHz Reference Level (Out-of-phase)
This out-of-phase signal should cancel to nothing when summed to mono. Any signals still present are distortion artifacts, lack of channel balance, or timing (phase) anomalies. This test can be a second confirmation of anti-skate adjustment.
5. 1 kHz - 10 kHz Sweep (- 20 dB)
Resonance anomalies in the tonearm/cartridge interface will show up as amplitude peaks and dips as the frequency sweeps down. Once again, by listening in "Mono" it is easier to hear the distortion artifacts.
6. Silent Groove
During playback of this track, nothing should be transmitted from the turntable to the speakers. Replay the track and gently tap on the rack or base that the turntable is resting on. There should be little or no thump transferred to the speakers. This track will help you experiment with turntable isolation methods and products to be able to get the most out of your playback system. You may want to use a closed or sealed headphone for best listening results, or a stethoscope on the plinth.

